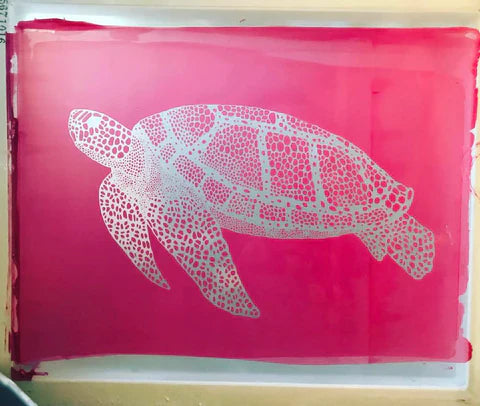
How to Make a Screen
Share
Making a screen is the most complicated part of screen printing and the photo emulsion process is the most common method for creating one. In this post, I will explain the process step by step.
Step 1: Choosing the Screen

The first step is choosing a screen. The screen should be made of a mesh material that can withstand exposure to light, chemicals, and water. Most screens are made of polyester or nylon, which are both durable materials that can withstand the printing process.
Mesh comes in different sizes from 30-400. Higher mesh count is for more detailed designs and thinner inks, while thicker inks require a lower mesh count. I would recommend beginning with 160 count, which a good middle ground, until you get a better understanding of the process.
Step 2: Preparing the Screen
Once you have chosen the screen, you need to prepare it for the photo emulsion process. This involves degreasing the screen to remove any dirt, dust, or oil that may be present. You can do this by washing the screen with a degreasing solution and then rinsing it with water.
Step 3: Coating the Screen with Emulsion

The next step is to coat the screen with photo emulsion. Photo emulsion is a light-sensitive chemical that will harden when exposed to light. To apply the emulsion, you can use a scoop coater, which is a tool that is specifically designed for this purpose. You should apply the emulsion to both sides of the screen and then let it dry in a dark room.
Step 4: Preparing the Artwork

While the emulsion is drying, you can prepare the artwork that you want to print. You can create the artwork digitally or by hand, but it should be printed on a transparent film that is the same size as the screen. This film will be used to create a stencil on the screen. I will make a future blog post going into this step in more detail.
Step 5: Exposing the Screen
Once the emulsion has dried, you can expose the screen to light. To do this, you need to place the screen in a UV light box, with the emulsion side facing the light. Then, you need to place the artwork on top of the screen and secure it in place with a piece of glass or plastic. The light will harden the emulsion in the areas where the artwork is not present, creating a stencil on the screen.
Step 6: Washing the Screen

After the screen has been exposed, you need to wash it to remove the unhardened emulsion. You can do this by spraying the screen with water, which will dissolve the unhardened emulsion and reveal the stencil. It is important to be gentle when washing the screen to avoid damaging the stencil.
Step 7: Drying the Screen
Once the screen has been washed, you need to let it dry completely before using it for printing. You can speed up the drying process by using a fan or a heat lamp.
The photo emulsion process is a critical step in creating screens for screen printing. By following these seven steps, you can create a high-quality screen that will produce excellent prints. With a little practice, you can become a master of the photo emulsion process and create beautiful screen prints.
